
검색결과 리스트
글
mac 에서 도커를 터미널로 설치해보았다.
~% brew cask install docker
==> Tapping homebrew/cask
Cloning into '/usr/local/Homebrew/Library/Taps/homebrew/homebrew-cask'...
remote: Enumerating objects: 14, done.
remote: Counting objects: 100% (14/14), done.
remote: Compressing objects: 100% (14/14), done.
remote: Total 488657 (delta 5), reused 1 (delta 0), pack-reused 488643
Receiving objects: 100% (488657/488657), 224.38 MiB | 8.64 MiB/s, done.
Resolving deltas: 100% (346812/346812), done.
Tapped 1 command and 3697 casks (3,814 files, 240.3MB).
==> Downloading https://desktop.docker.com/mac/stable/48506/Docker.dmg

######################################################################## 100.0%
==> Verifying SHA-256 checksum for Cask 'docker'.
==> Installing Cask docker
==> Moving App 'Docker.app' to '/Applications/Docker.app'.

🍺  docker was successfully installed!
맥주 이모지 너무나 귀여운 것..
버전 확인하고
~ % docker --version
Docker version 19.03.13, build 4484c46
centOS7 이미지 받아서 헬로월드 찍어보기
~ % docker container run centos:7 /bin/echo 'Hello world'
docker: Cannot connect to the Docker daemon at unix:///var/run/docker.sock. Is the docker daemon running?.
불만이 많다.
찾아보니 docker-machine을 설치하란다. virtualbox는 이미 깔려있어 패스.
~ % docker-machine create --driver virtualbox default
Running pre-create checks...
(default) Image cache directory does not exist, creating it at /Users/Alice/.docker/machine/cache...
(default) No default Boot2Docker ISO found locally, downloading the latest release...
(default) Latest release for github.com/boot2docker/boot2docker is v19.03.12
(default) Downloading /Users/Alice/.docker/machine/cache/boot2docker.iso from https://github.com/boot2docker/boot2docker/releases/download/v19.03.12/boot2docker.iso...
(default) 0%....10%....20%....30%....40%....50%....60%....70%....80%....90%....100%
Creating machine...
(default) Copying /Users/Alice/.docker/machine/cache/boot2docker.iso to /Users/Alice/.docker/machine/machines/default/boot2docker.iso...
(default) Creating VirtualBox VM...
(default) Creating SSH key...
(default) Starting the VM...
(default) Check network to re-create if needed...
(default) Found a new host-only adapter: "vboxnet1"
(default) Waiting for an IP...
Waiting for machine to be running, this may take a few minutes...
Detecting operating system of created instance...
Waiting for SSH to be available...
Detecting the provisioner...
Provisioning with boot2docker...
Copying certs to the local machine directory...
Copying certs to the remote machine...
Setting Docker configuration on the remote daemon...
Checking connection to Docker...
Docker is up and running!
To see how to connect your Docker Client to the Docker Engine running on this virtual machine, run: docker-machine env default
~ % eval "$(docker-machine env default)"
다시 헬로월드를 찍어보자.
~ % docker container run centos:7 /bin/echo 'hello world'
Unable to find image 'centos:7' locally
7: Pulling from library/centos
75f829a71a1c: Pull complete
Digest: sha256:19a79828ca2e505eaee0ff38c2f3fd9901f4826737295157cc5212b7a372cd2b
Status: Downloaded newer image for centos:7
hello world
hello world 가 찍히는걸 확인할 수 있다.
현재 떠있는 도커 컨테이너 확인
~ % docker ps
CONTAINER ID IMAGE COMMAND CREATED STATUS PORTS NAMES아무것도 없다. 저거 찍고 종료되었기 때문.
~ % docker container ps -all
CONTAINER ID        IMAGE               COMMAND                  CREATED             STATUS                     PORTS               NAMES

5644019dfd27        centos:7            "/bin/echo 'hello wo…"   2 minutes ago       Exited (0) 2 minutes ago                       objective_varahamihira
-all 옵션을 주면 해당 컨테이너가 2분전에 종료(Exited)된 것을 확인 할 수 있다.
옵션없이 실행 하면 현재 떠있는 컨테이너 목록만 확인할 수 있다.
다시한번 찍어보면 이번에는 pull 하지 않고 바로 터미널에 헬로월드가 찍힌다.
~ % docker container run centos:7 /bin/echo 'hello world'
hello world
아래와 같이 image 리스트를 확인해보면 centos 7 가 존재하기 때문이다.
~ % docker image ls
REPOSITORY          TAG                 IMAGE ID            CREATED             SIZE

centos              7                   7e6257c9f8d8        2 months ago        203MB
niginx를 받아본다.
~ % docker pull nginx
Using default tag: latest
latest: Pulling from library/nginx
bb79b6b2107f: Pull complete
111447d5894d: Pull complete
a95689b8e6cb: Pull complete
1a0022e444c2: Pull complete
32b7488a3833: Pull complete
Digest: sha256:ed7f815851b5299f616220a63edac69a4cc200e7f536a56e421988da82e44ed8
Status: Downloaded newer image for nginx:latest
docker.io/library/nginx:latest
버전을 명시하지 않으면 최신버전(latest)을 받아온다.
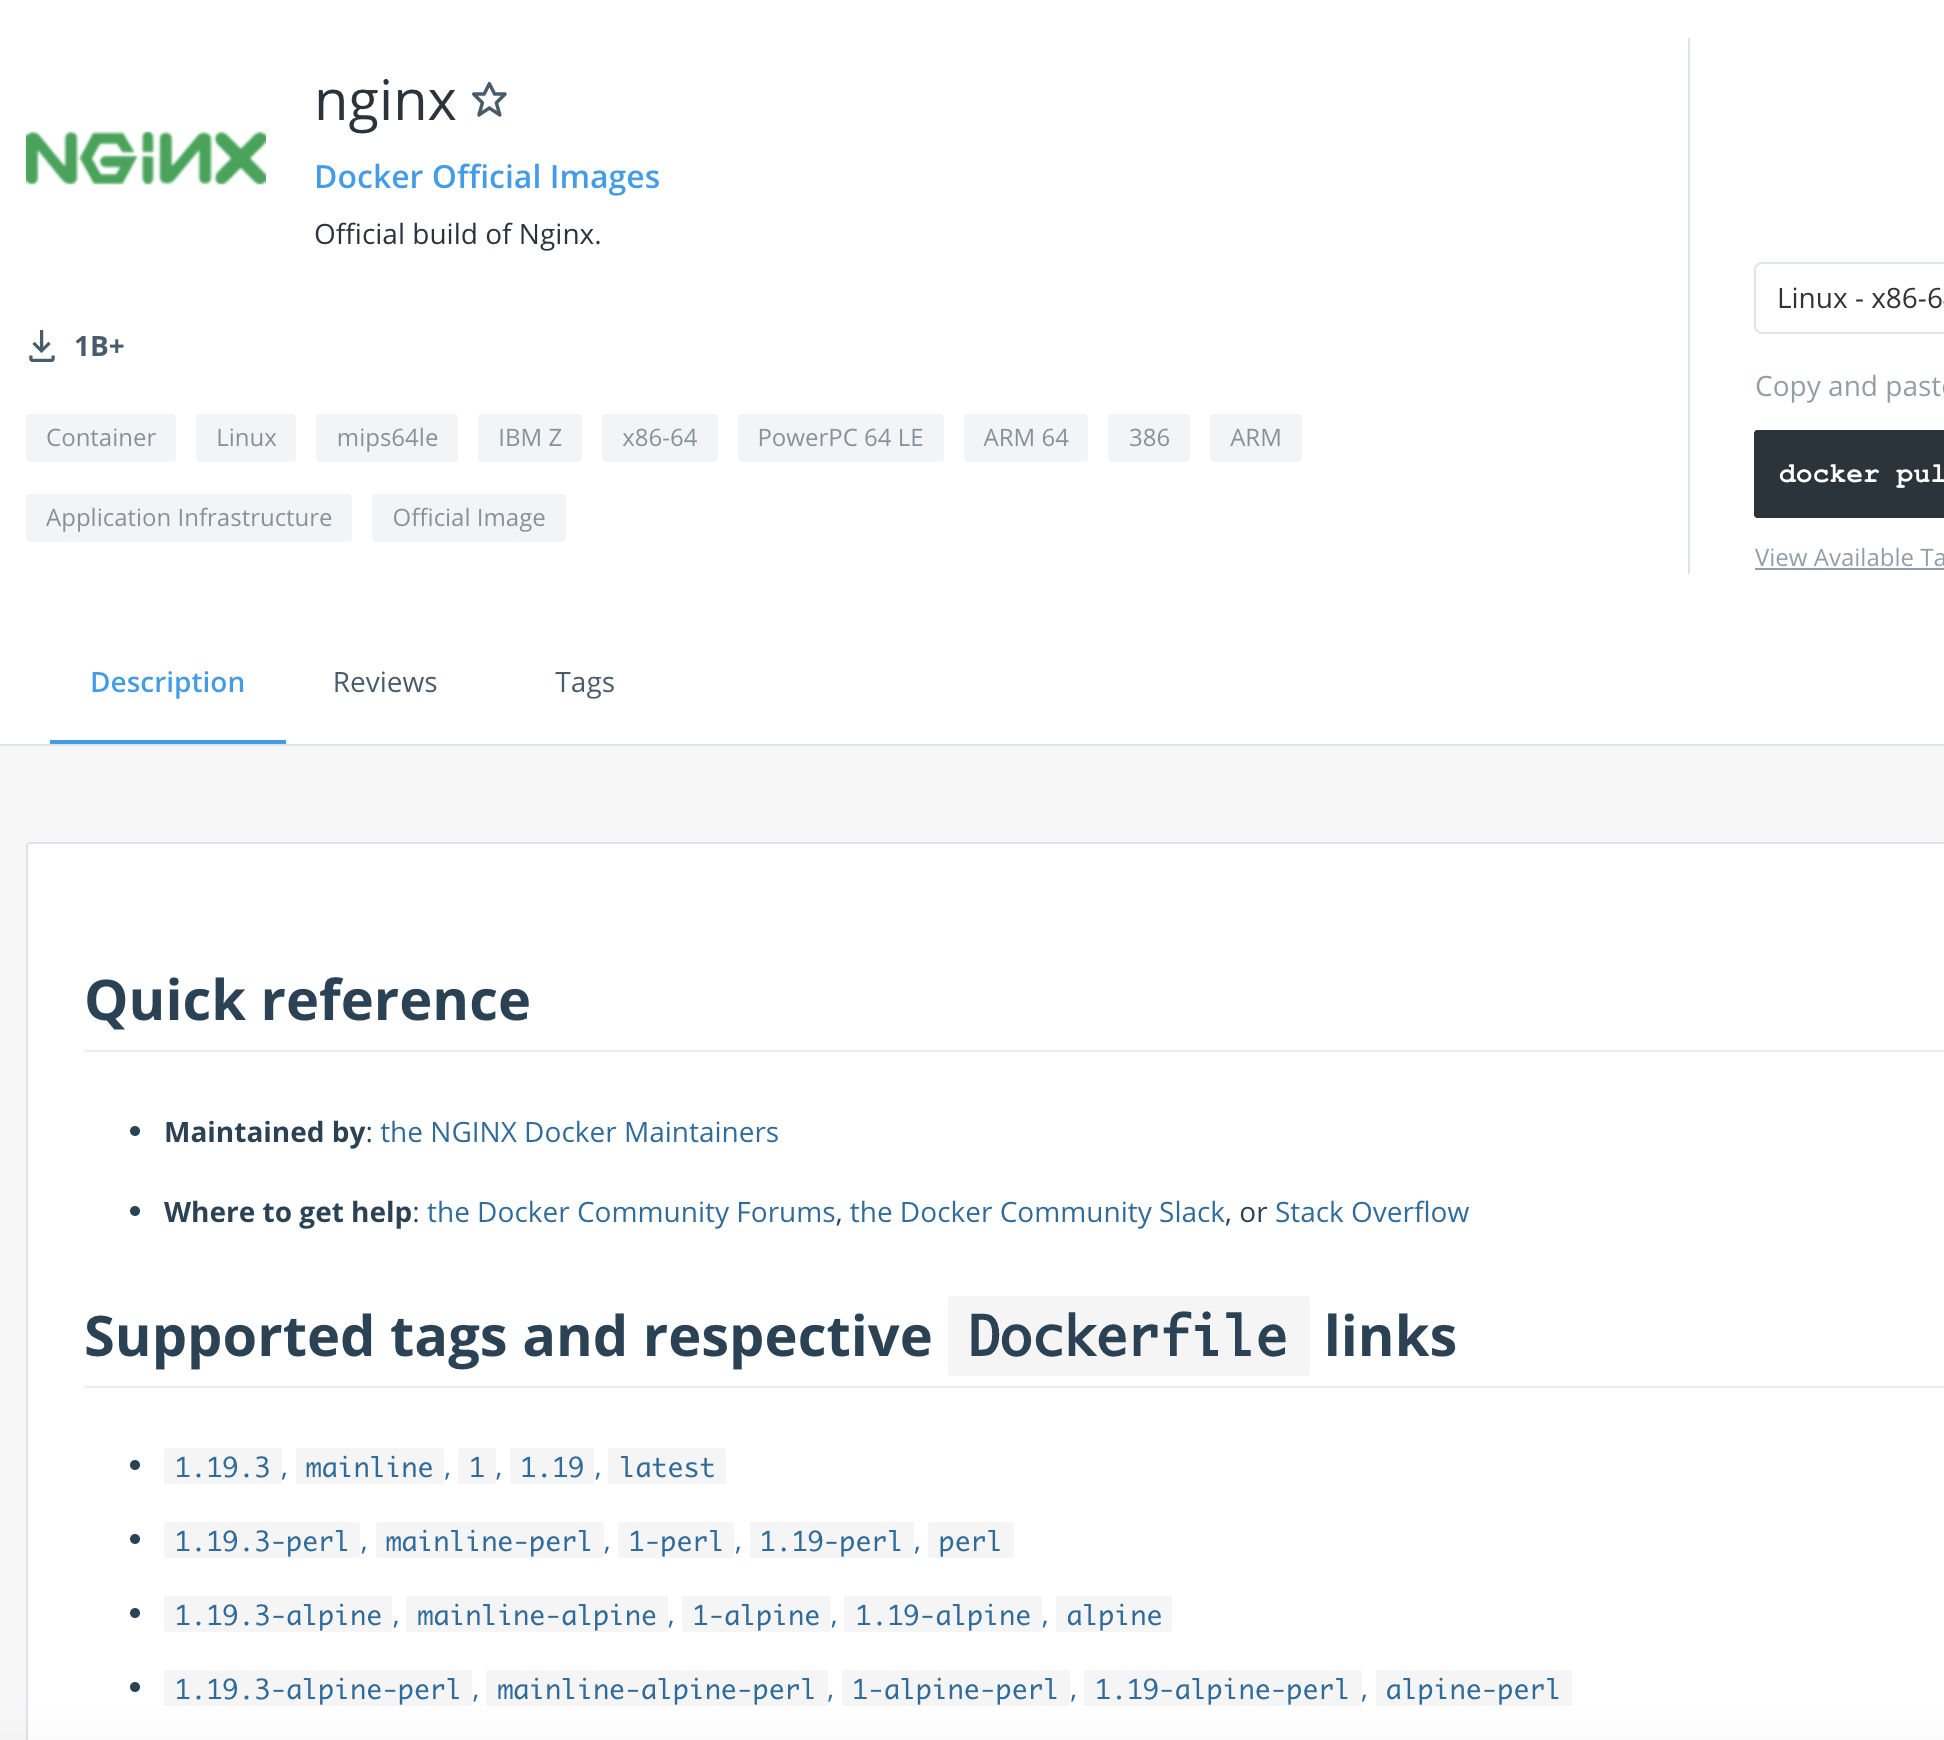
도커 허브에서 제공하는 이미지의 버전은 여기서 확인가능하다. -> hub.docker.com
Docker Hub
Docker Certified:Trusted & Supported Products Certified Containers provide ISV apps available as containers. Certified Plugins for networking and volumes in containers. Certified Infrastructure delivers an optimized and validated Docker platform for enterp
hub.docker.com
예를들면.. 이렇게 해당 이미지의 상세정보에서 확인이 가능하다.
자 이제 niginx도 pull 되었다. 이미지 확인을 해본다.
~ % docker image ls
REPOSITORY          TAG                 IMAGE ID            CREATED             SIZE
nginx               latest              f35646e83998        2 weeks ago         133MB
centos              7                   7e6257c9f8d8        2 months ago        203MB
컨테이너를 web 이라는 이름으로 띄운다.
도커를 띄우는 호스트의 80을 컨테이너로 올린 80에 포워딩 한다.
이 뜻은.. 호스트 주소의 80으로 접속하면 niginx 로 요청을 받을 수 있다는 것을 의미한다.
~ % docker container run --name web -d -p 80:80 nginx
/docker-entrypoint.sh: /docker-entrypoint.d/ is not empty, will attempt to perform configuration
/docker-entrypoint.sh: Looking for shell scripts in /docker-entrypoint.d/
/docker-entrypoint.sh: Launching /docker-entrypoint.d/10-listen-on-ipv6-by-default.sh
10-listen-on-ipv6-by-default.sh: Getting the checksum of /etc/nginx/conf.d/default.conf
10-listen-on-ipv6-by-default.sh: Enabled listen on IPv6 in /etc/nginx/conf.d/default.conf
/docker-entrypoint.sh: Launching /docker-entrypoint.d/20-envsubst-on-templates.sh
/docker-entrypoint.sh: Configuration complete; ready for start up
~ % docker ps
CONTAINER ID        IMAGE               COMMAND                  CREATED             STATUS              PORTS                NAMES
348de6cba724        nginx               "/docker-entrypoint.…"   5 minutes ago       Up 2 seconds        0.0.0.0:80->80/tcp   web
nginx 이미지를 가진 web 컨테이너의 상태가 Up 상태인 것을 확인할 수 있다.
그러면 로컬호스트로 요청을 날려보자.
~ % curl "http://localhost"
curl: (7) Failed to connect to localhost port 80: Connection refused
커넥션 실패..
docker-machine 을 썼기때문에 ㅜㅜ docker-machine의 아이피를 확인해본다.
~ % docker-machine ip
127.0.0.1예시로 127.0.0.1 이 나왔다고 치면.. 자 각자의 IP를 확인하여 다시 요청을 날려보자.
~ % curl "http://127.0.0.1"
<!DOCTYPE html>
<html>
<head>
<title>Welcome to nginx!</title>
<style>
    body {
        width: 35em;
        margin: 0 auto;
        font-family: Tahoma, Verdana, Arial, sans-serif;
    }
</style>
</head>
<body>
<h1>Welcome to nginx!</h1>
<p>If you see this page, the nginx web server is successfully installed and
working. Further configuration is required.</p>

<p>For online documentation and support please refer to
<a href="http://nginx.org/">nginx.org</a>.<br/>
Commercial support is available at
<a href="http://nginx.com/">nginx.com</a>.</p>

<p><em>Thank you for using nginx.</em></p>
</body>
</html>
niginx index 페이지 처럼 보이는 소스가 출력된다.
브라우저에서 아이피로 한번 들어가보자~ ( 내부 IP이므로 외부에서는 접근이 불가능하다)

로맨틱 성공적~
niginx 를 올려서 확인까지 해보았다.
컴퓨터가 재부팅되면 저 docker-machine이 종료되면서 접근이 불가능하다.
다시 도커 머신을 구동시켜 내부 아이피를 할당받아 사용할 수 있다.
~ % docker-machine start default
Starting "default"...
(default) Check network to re-create if needed...
(default) Waiting for an IP...
Machine "default" was started.
Waiting for SSH to be available...
Detecting the provisioner...
Started machines may have new IP addresses. You may need to re-run the `docker-machine env` command.
~ % eval "$(docker-machine env default)"
까지 하고나면 아까와 같이 다시 사용할 수 있는 환경이 셋팅된다.
다시 웹 컨테이너를 띄우고 (start)
~ % docker start web
내려본다. (stop)
~ % docker stop web
'개발공부' 카테고리의 다른 글
| Docker 컨테이너 내부에 명령 실행 (0) | 2020.11.01 |
|---|---|
| Docker 네트워크 설정 (0) | 2020.11.01 |
| 스프링 부트 설정 에러 (0) | 2020.01.22 |
| JUnit으로 컨트롤러 테스트 (0) | 2019.09.04 |
| JSP 파일 생성시 에러 (0) | 2017.05.17 |

RECENT COMMENT